HOW TO DRAW A SIMPLE CAR (EN)
How to draw a simple car with graphite pencil and dry pastel: drawing process in 4 steps
Observation drawing is an artistic modality that can be developed from a photo or by looking directly at the real object (on location). The practice of drawing on location gave birth to the worldwide movement of Urban Sketchers – groups of sketchers who get together to draw urban spaces with all the components of the landscape, each with their own personality and style.
Here we will present the steps of the design process of a car in Italy, in the town of Polignano a Mare (Puglia).
Step 1
First of all, to start the drawing, I identified the center of the sheet and the empty space margins between the limits of the car and the limits of the sheet. In this way you mark the position of the object on the sheet right away and ensure that the image fits comfortably in the available space. If you do not take this step right away, and start drawing the final lines of the object, you run the risk that the object will not fit on the sheet, or that it will become decentralized.
Then you can draw with graphite pencil the first lines of the observed, without taking care of the details, but only sketching the general shapes (picture 1).

Step 2 – how to draw a simple car
The next step is to start observing the details of the object and draw the lines with more precision and definition. Besides the lines, it is important to already sketch the shadows that will help guide the drawing more easily. In this case I have drawn the lines and shadows at the same time with graphite (picture 2).
Step 3 – how to draw a simple car
After organizing the lines in graphite, the next step is to go over the drawing with ink pen (picture 3). This can be done entirely by free hand, or you can use a set square or ruler for the sections with straight lines. In this drawing I used the ink tip 0.1, and in some parts 0.3.
After the ink, it is useful to use the eraser when you notice the need to clean some hatching or repeated lines from the graphite drawing. In this case most of the graphite lines remained together with the overlapping ink line.

Step 4 – how to draw a simple car
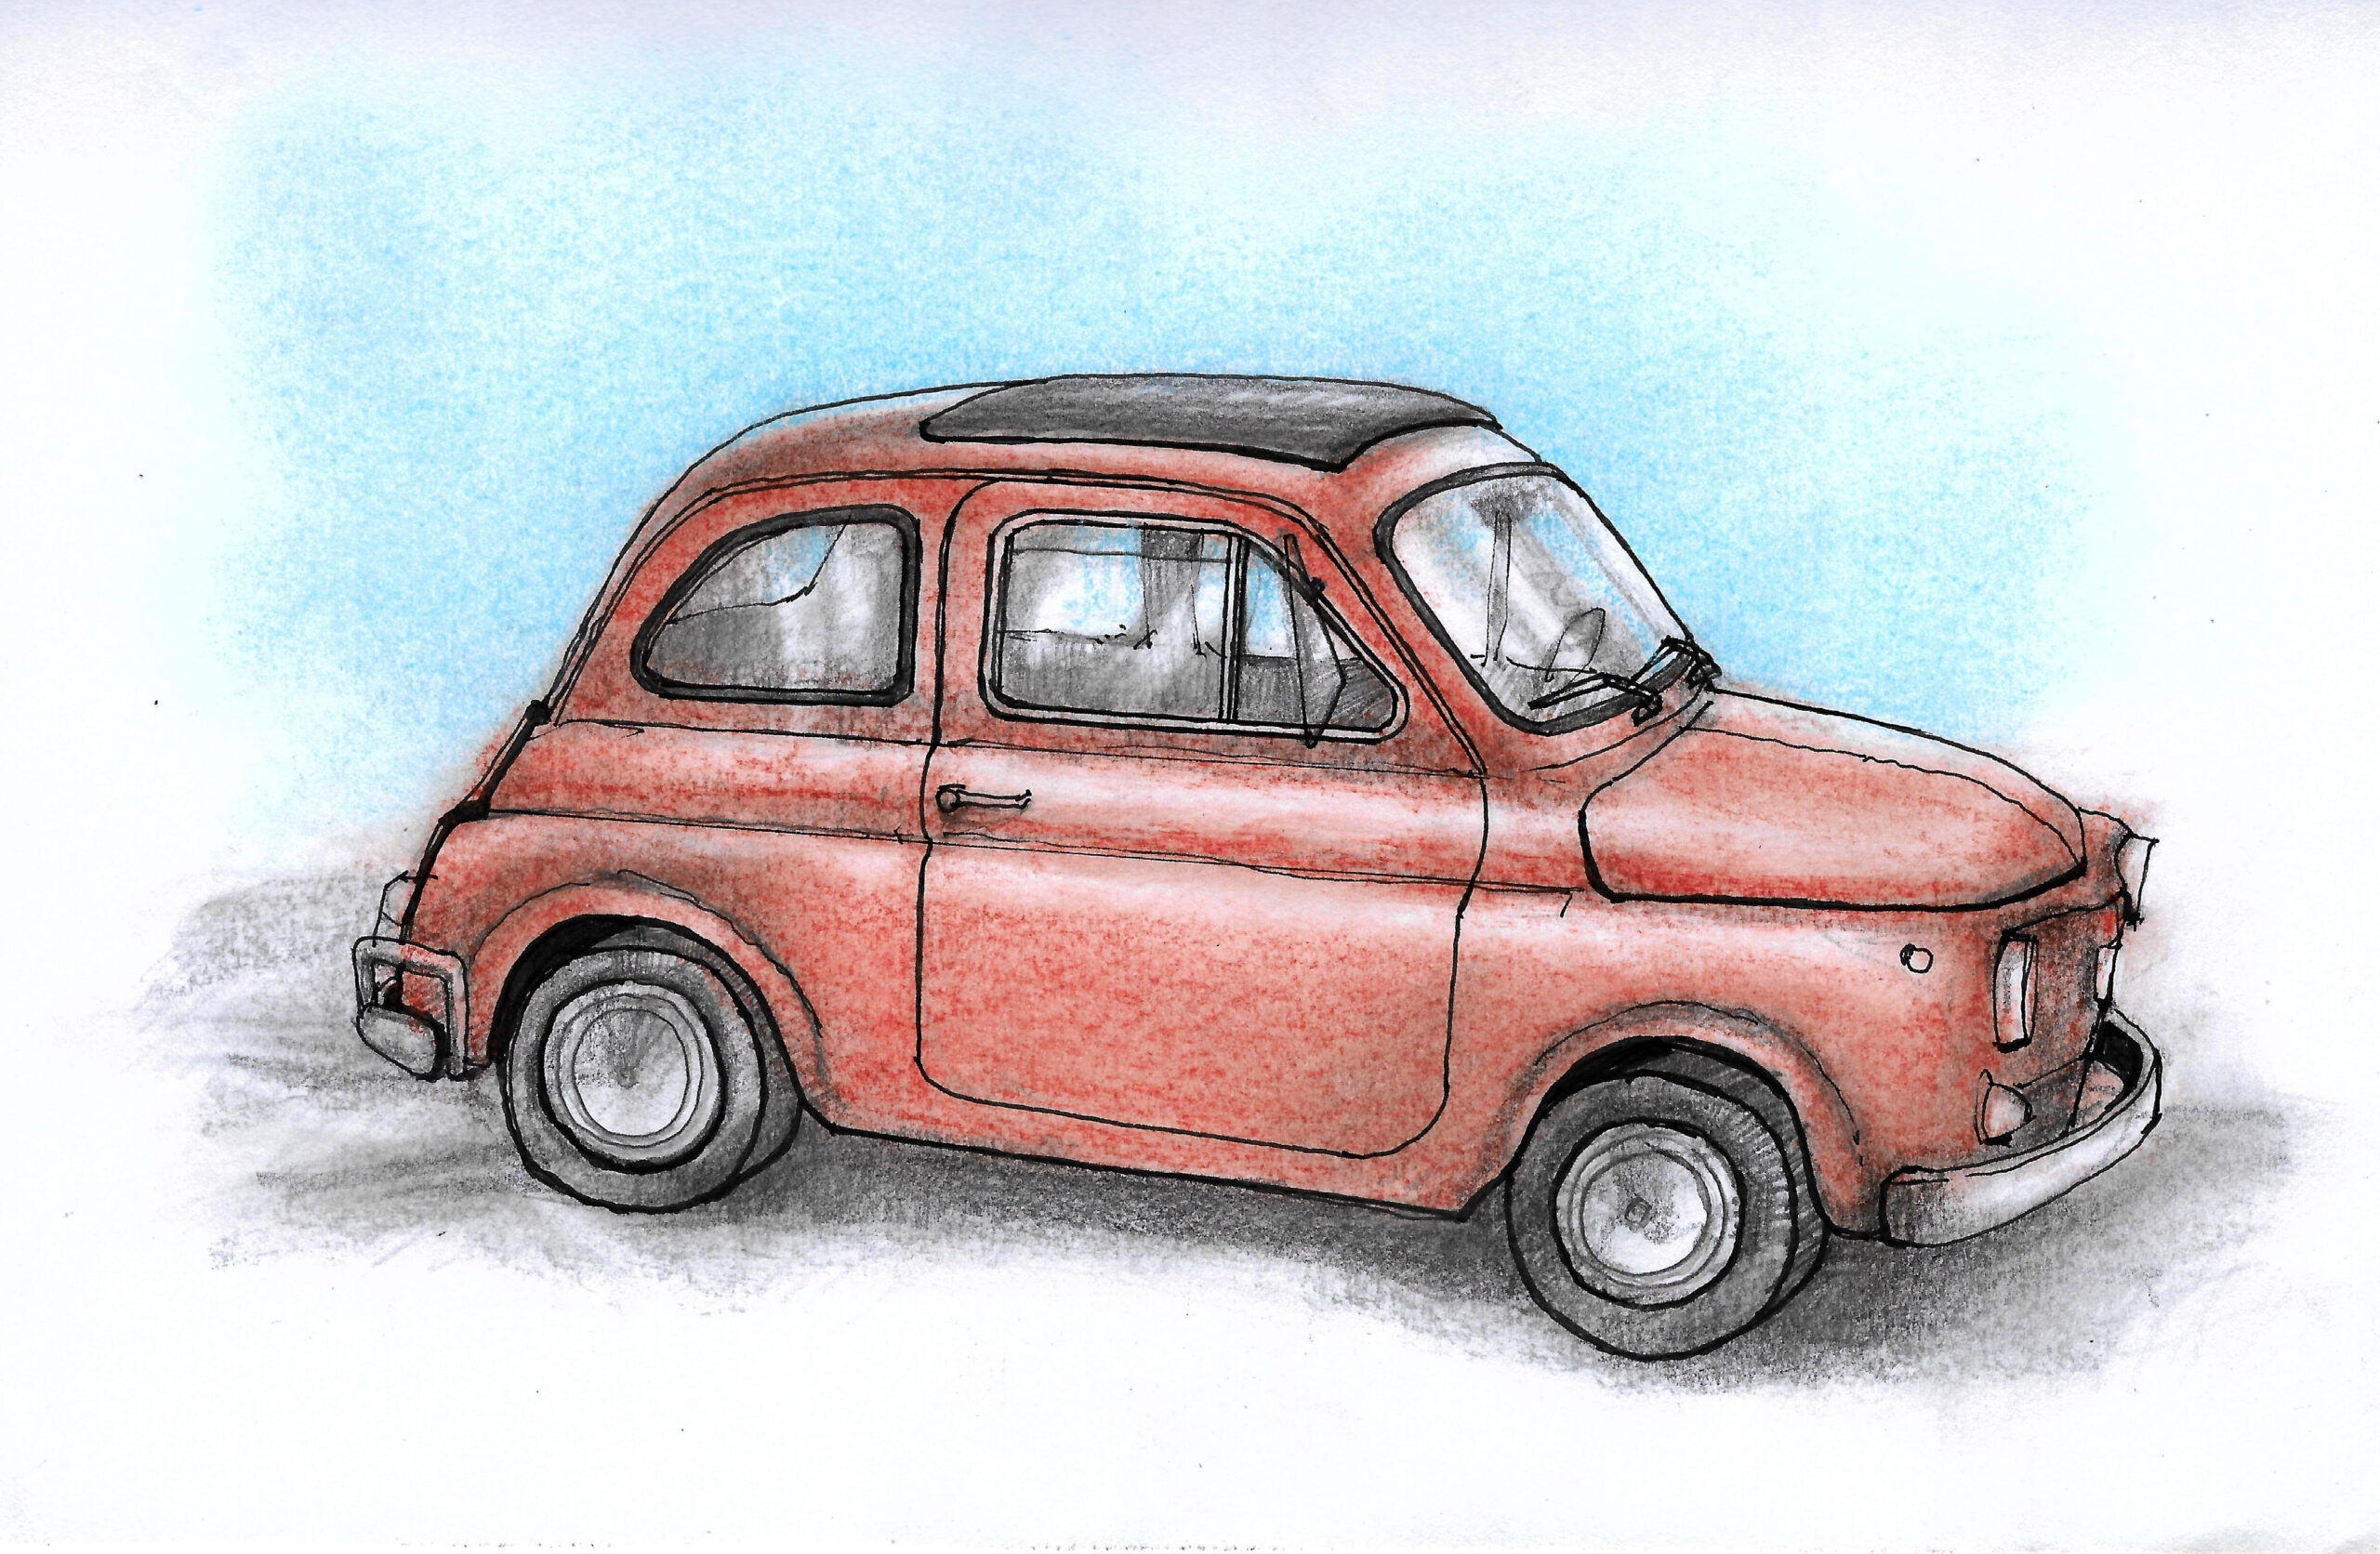
The last step of the drawing is to apply the colors and emphasize the lights and shadows of the object (picture 4). In this case only two colors were used (blue and dark red), both in soft dry pastel bar, which is applied in layers starting from the lightest to the darkest (most saturated). To spread the pigment of the pastel bars in order to create gradients, you can use a piece of tissue paper (or toilet paper).
In addition, after applying the colors, it is necessary to cover the shaded and dark areas with graphite. It is also important to use the eraser to make the illuminated parts lighter, giving more volume to the object. Finally, you can mark some contour lines with ink pen, that may have been covered with the pigment of the pastel.
For the Portuguese version of the text, please click here.


